Decorating Easter eggs was an inherent and much looked forward to part of my childhood Easter celebrations… Except for the stinky smell. It bothered me then, and as I’ve gotten older I’ve become unable to stomach the smell of vinegar. While I was pregnant, it grew worse. And my inability to smell vinegar lingered even after the babes were born. Now even warm ketchup or a strong salad dressing send me scooting away from the offensive dish.
So how can I reconcile my love of decorating eggs with my disdain for vinegar? One option is shaving cream, but then you can’t eat the eggs. We try rather hard to not be wasteful, and so shaving cream wasn’t really an option for us.
But then I got to thinking…whipped cream is a similar consistency to shaving cream, yet food-safe. What if we combined whipped cream and food coloring to dye eggs?
How to dye Easter eggs with whipped cream
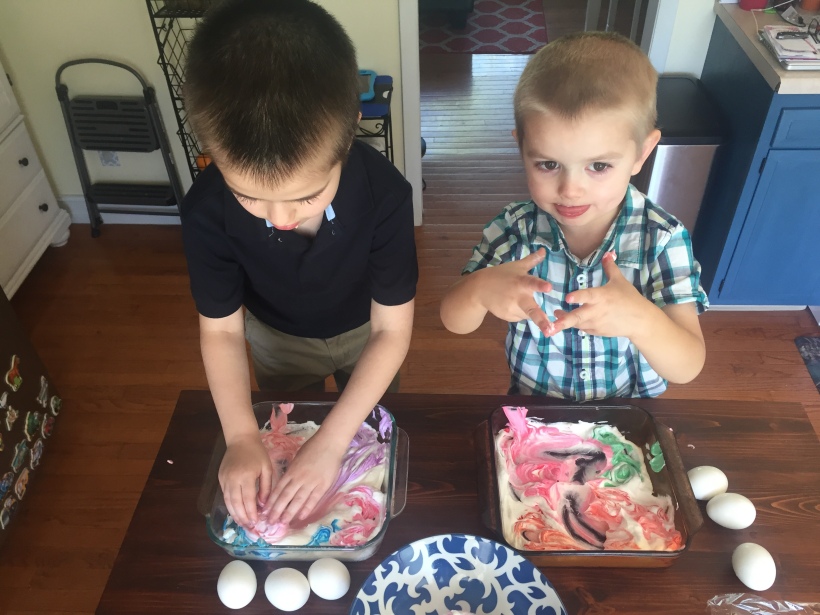
- Place two inches of Cool Whip (or off brand, if you’re like me) in a baking dish. We used one 8×8 pan for each kid.
- Place one to two drops food coloring per corner and swirl outward with a butter knife (don’t mix too much- the eggs will do this for you). You can do more colors if you want, but this creates a marbled effect.
- Roll hard boiled egg through as many or as few of your colors as you wish.
- Don’t wipe the cool whip off yet! Place in a shallow bowl in the fridge for a couple of hours.

- Remove from fridge and wipe cook whip off with a paper towel or dish cloth. Don’t rinse!
- Enjoy your pretty marbled eggs!

No comments:
Post a Comment